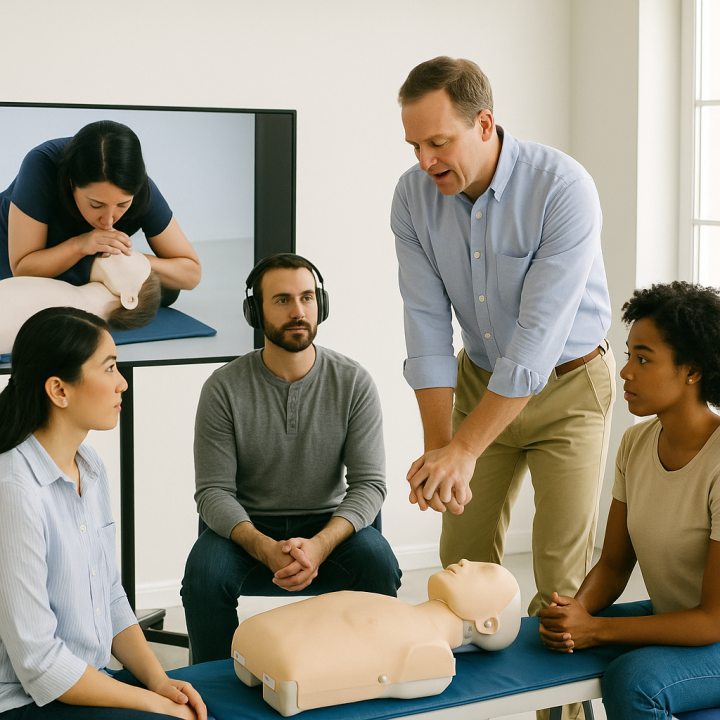
Effective CPR instruction isn’t one-size-fits-all. Everyone learns differently—especially in high-stakes medical scenarios. Whether you’re training healthcare professionals or community members, understanding learning styles can improve CPR retention and performance. Here’s how to tailor your CPR teaching to visual, auditory, and kinesthetic (hands-on) learners.
1. Visual Learners
Visual learners absorb information best when they can see it.
Strategies:
- Use diagrams and infographics of CPR steps.
- Display videos showing correct compression depth and rate.
- Include animations of heart rhythms and AED usage.
- Demonstrate the “CAB” (Compressions-Airway-Breathing) sequence with posters.
Tip: Use color coding and symbols to help visualize each step clearly.
2. Auditory Learners
Auditory learners remember information they hear.
Strategies:
- Explain each step of CPR out loud and repeat key phrases.
- Use rhythm-based instructions (like “Stayin’ Alive” to maintain chest compression tempo).
- Incorporate podcasts or audio lessons into training materials.
- Encourage learners to verbalize what they’re doing as they perform each step.
Tip: Conduct group discussions or Q&A sessions to reinforce concepts.
3. Hands-On (Kinesthetic) Learners
These learners grasp concepts through doing and movement.
Strategies:
- Provide practice with manikins for real-time CPR simulation.
- Use scenario-based training with role-playing.
- Incorporate timed drills to build muscle memory.
- Let learners operate an AED trainer themselves.
Tip: Reinforce lessons with repetition and hands-on feedback from instructors.
Why It Matters
By aligning your teaching style with your learner’s preferences, you’re not just increasing engagement—you’re helping save lives. A student who learns CPR through their ideal method is more likely to retain it, recall it, and perform it confidently during real emergencies.


